|
Customs, as they happen. This is where you will see, step by step, how my customs are created.
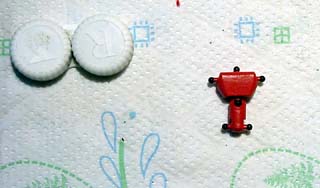
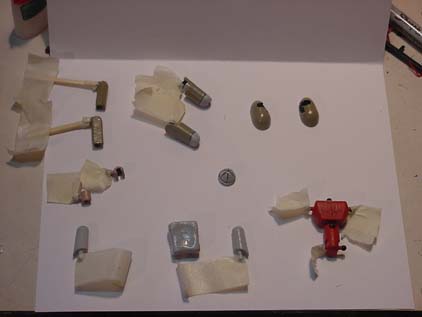
Step 3. The first thing I did with the figure was to plug the holes in the front
of the torso. I did this using the standard pockets. I cut the edges off of the pockets and glued the remaining
pegs in the holes. Then I trimmed off the excess. I filed any rough spots and continued to file the entire torso
to get an even finish. The result was a torso with holes in the back (for the backpack), but a solid front. I
went ahead and filed the abdomen and primed both pieces at the same time.
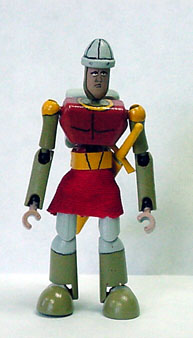
Step 4. I decided to go ahead and paint the torso and midsection, since it was the
only section that would be red. I mixed several acrylics until I got a shade that I was happy with and then started
painting. It took about three coats (plus the primer) to get good, even coverage. Since Dirk wears a tunic, I
took the time to sew the lower half from a piece of red scrap. The seam was covered with the yellow belt.
|
| Step 5 |
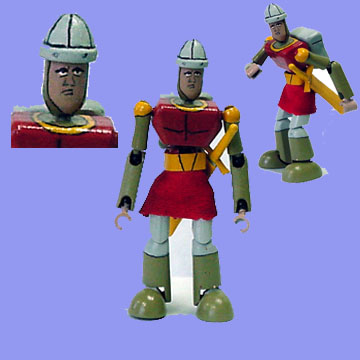
Step 6. The last thing to do was to assemble the parts. The top half of Dirk's
tunic was painted on while the bottom half was fabric. I attached the "skirt" using Krazy Glue and then covered
the edge with the belt (both the belt and scabbard were made from basic masking tape). His sword comes out of it's scabbard
and his helmet and backpack are removeable. I did find that the sealant I used caused the permanent marker edging to
run, so I drew his face using a very sharp #2 pencil prior to sealing. The collage bleow shows Dirk in various poses.
Another collage is posted in the gallery. Also, I will be eventually posting more pics in the Shootin' Gallery.
|